
Creating and Editing a Venue
Every venue can effectively be broken down into three parts:
- Venues
- Rooms within those venues
- Tool Zones within those rooms
In this article, we'll go through what each of these things are and what they include, how they interact with each other, and tips on how you can use them to fine-tune your venue to perfection!
The Basics
First, let's go over what each of these terms mean.
Venues
When you create a new project to start working on, what you are creating is a Venue, which will contain all the content that you want to have in your experience. You can have multiple venues at once, each one containing a new project or experience.
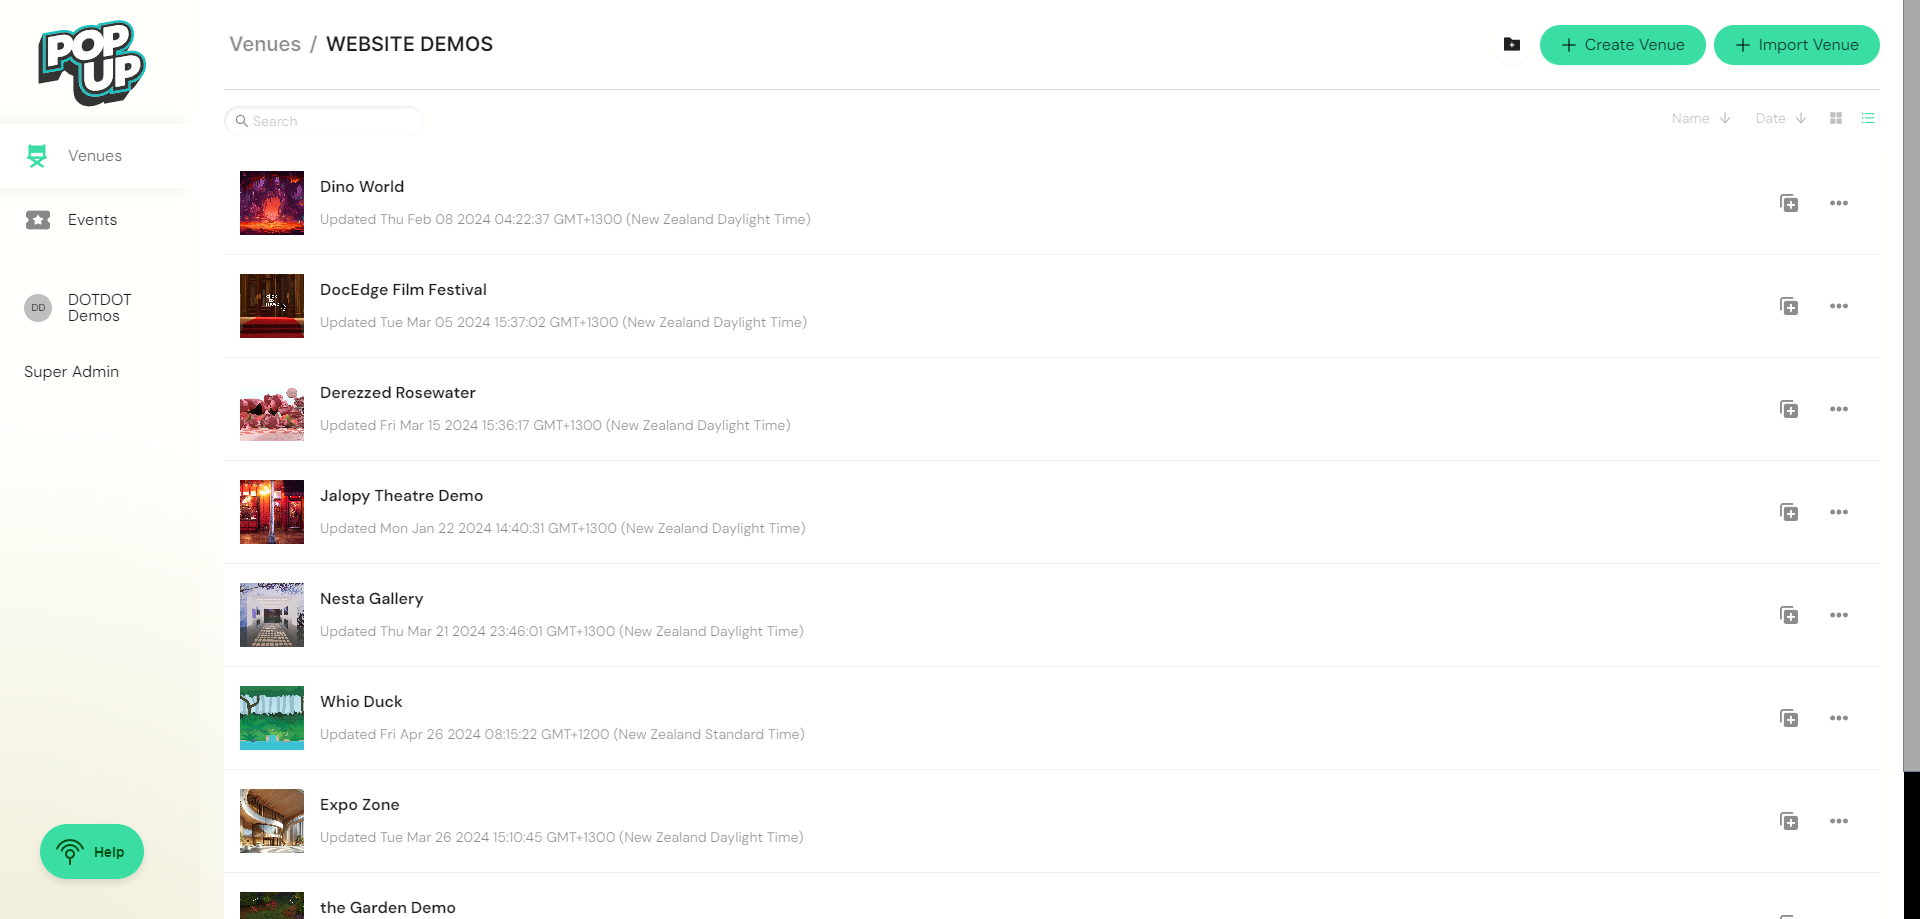
When you first log in, you'll get a list of all the venues that you have created or been given access to. You can create a new venue by clicking "Create Venue" at the top-right, edit an existing venue by clicking on it in the list, or do things like duplicate, rename, or delete venues using the "More actions" buttons to the right of each venue entry. For more information on creating venues, see below.
Rooms
Each venue is comprised of one or more Rooms. These can be thought of as being identical to a real-world events venue, which will always be made out of at least one room holding the content.
⚠ Each room must have a unique name!
Every room has three basic settings:
- A Background, which can be an image, a video, a solid color, or nothing at all.
- A Foreground, which can only be an image and will be displayed in front of everything else in the room
- An Ambience, which is a sound file that will be played on loop whenever you are in the room
All of the above can use assets from outside sources, or from the asset list using things that you upload.
Rooms will always be shown in their entirety without any scrolling. If you would like to show the same room from a different angle, or your background is too large and you would like to have a section of it hidden off-frame, consider making that part a separate room instead.
Rooms can also have a maximum occupancy limit, a text chat and emoji reactions, and overrides for the dimensions, avatar types, and microphone settings defined by the venue. We'll expand on these later.
Backgrounds are intended to always fill a room as much as possible, and as such their resolution is tied to the size of the venue's rooms. We'll go over how to set this size later, but it is always ideal to make your background images the same resolution and aspect ratio as your venue.
Tool Zones

Everything inside a room that is not part of the background or foreground is a Tool Zone. This includes everything from the exits to popups to the images between them.
Each zone in a room is a unique object with its own settings and position. They can be layered amongst each other to bring zones in front of or behind other zones much like a slideshow editor.
Creating a Venue
There are two ways to create a venue from scratch:
- Clicking "Create your own World" on the homepage and selecting a template, title, and email will generate a premade venue and send an access link to the specified email.

- Here you can provide a name for your Venue, which will be displayed to incoming attendees and in your designer
- Below this, you can choose whether this will be a venue for desktop or mobile devices, and the room width and height that will be used for each room. Alternatively, you may also set a custom size for your rooms
- Next you can choose how your attendees will appear while visiting your venue, or whether they will have an avatar at all. For information on what each option means, see here.
- Finally, you can decide how attendee microphones will behave; whether they will be on or off by default, or if they will be disabled entirely
- Log in, navigate to the "Venues" tab, and click "Create Venue". This will create a blank new venue with a name and default set of room dimensions that you specify.

- At the top, you can select one of two demonstrative venue templates to built from; a wireframe tutorial world, and a simple grassy garden space. You can also choose a blank world with default values.
- Next you can give your venue a public name
- Finally, enter your email here to receive a link to your new account and the venue you just created
You can also duplicate a pre-existing venue by clicking the Duplicate icon on the right-hand side of its entry in the venue list.
Editing a Venue
To edit a venue, simply click on its name in the venue list to enter its designer.
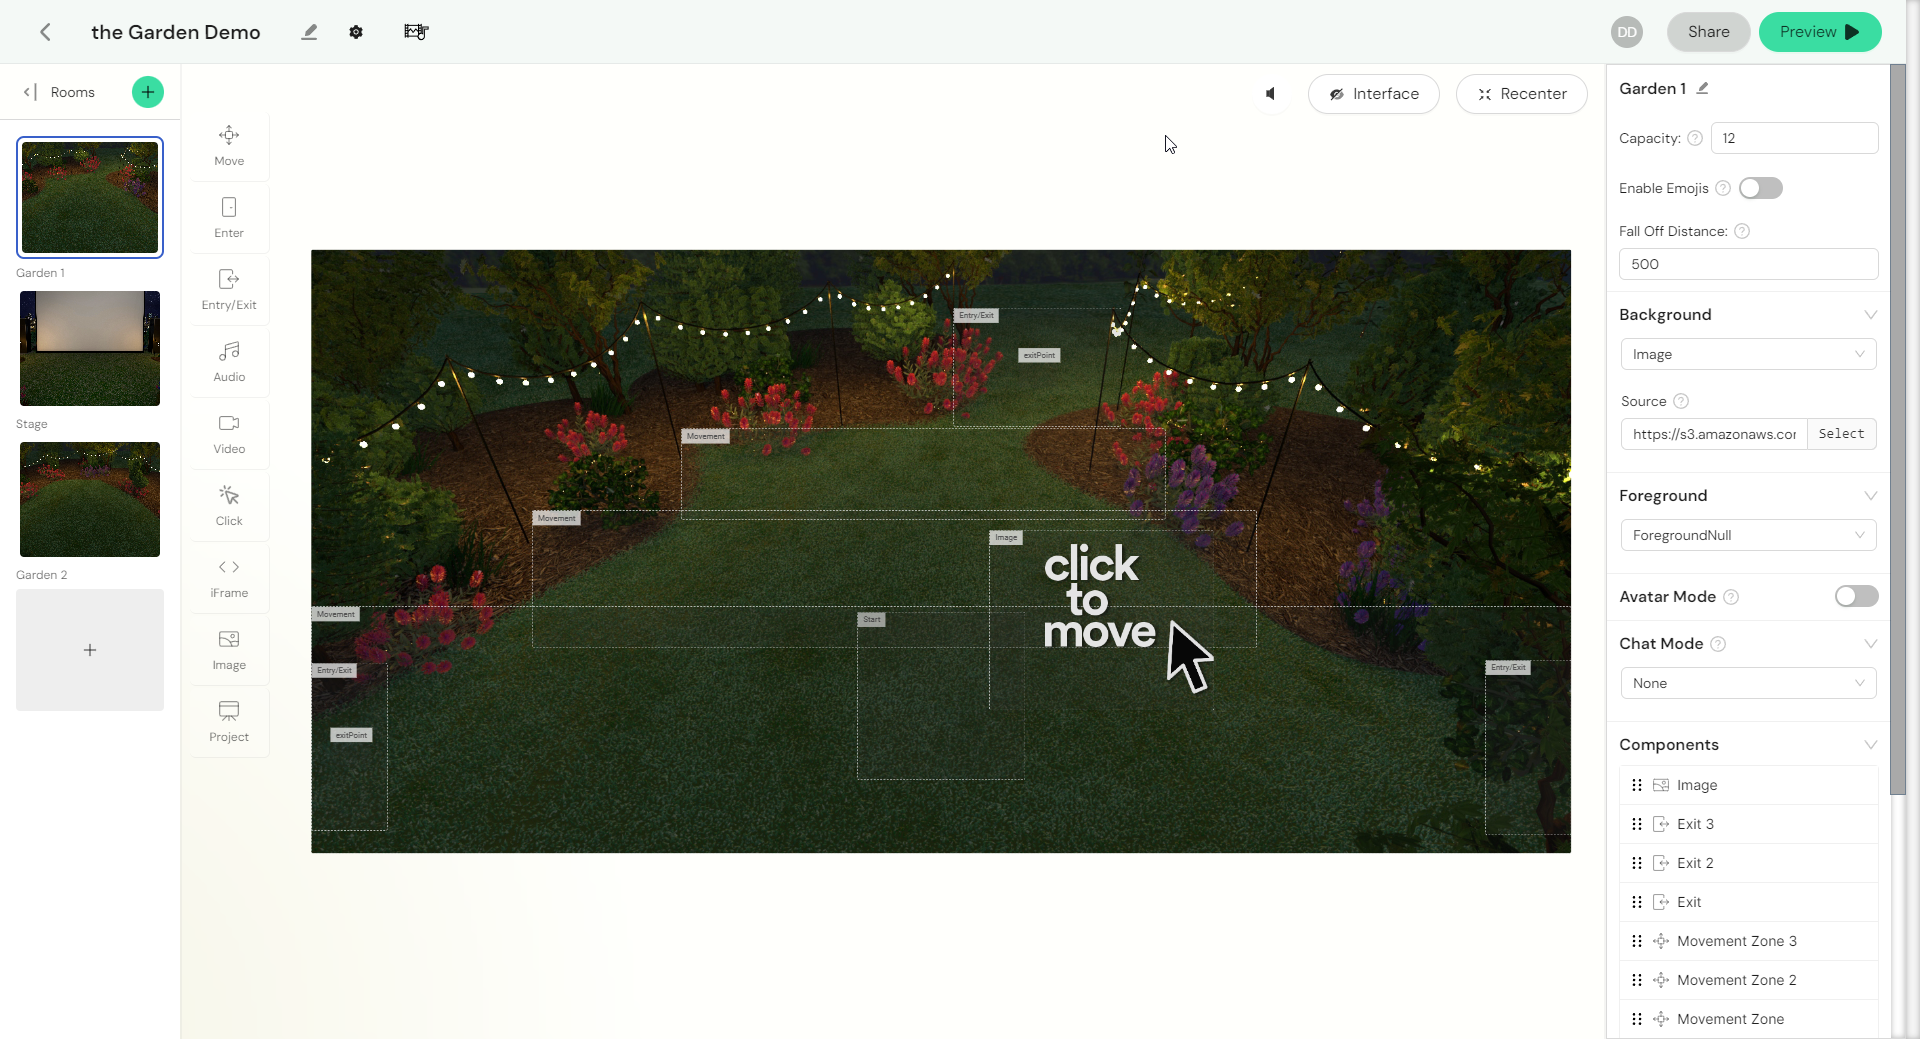
The designer is made of several columns and the main window. From left to right they are:
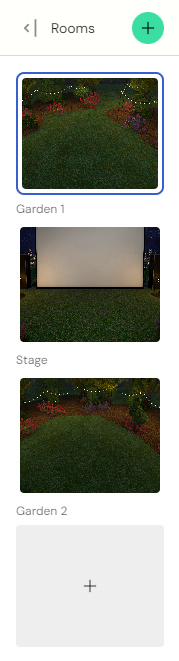
- (Far left) The list of rooms in your venue
- (Left) The list of tools you can add to the currently active room
- (Center) The main window showing your current room
- (Far Right) The inspector sidebar
- (Top) The venue settings, asset uploader, and share and preview buttons
We'll go into more detail about what each of these do later, but for now these are the basics.
Creating new Rooms
To create a new room, simple press the green "+" icon to create a new room at the bottom of the list. By clicking on the new room, you can then give it a name, a background and foreground, ambient sounds, and many more options in the inspector sidebar. The room's inspector settings will be visible whenever a component within that room is not selected.
🙌 Rooms in the room list don't have to be in order; any room can have an exit leading to any other room!
Adding Tool Zones
Adding new zones to the current room is as easy as either clicking the associated button in the tool list, or clicking and dragging from the button to where you want the component to be.
Once the component has been added, you can move, rotate, and rescale it simply by clicking on it and manipulating it using the nodes around its bounding box. Alternatively, you can select it in the room's tool list and then manually enter coordinate values. All these variables are displayed in the inspector sidebar.
Everything that you want in a room is going to be a component of some kind. For more information, see the help section on Tool Types.